 |
Applications Options
 |
Applications options can be access by opening the Tools Menu and choosing Options.
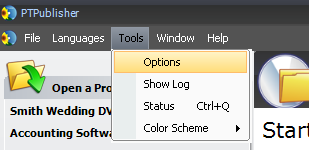
Click on the tabs to display options for each category. An explaination of the options on each of the tabs is below. Hover your mouse over the screen tabs on the screen capture below to see the available options.
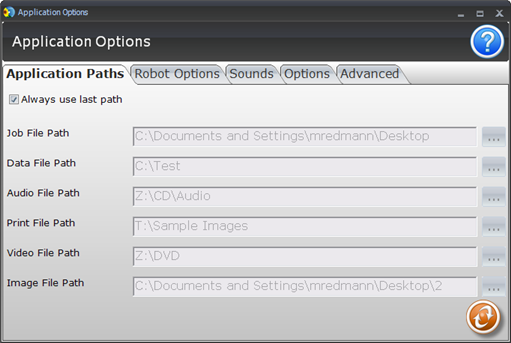
Application Paths
Here you can browse to the default locations for each of the file types shown. This allows you to specify a standard location for files that you use often. For example, if all of your print files are in your My Pictures folder you can set that location here.
Check the "Always use last path" option to always use the last location you found any particular file type. For example, if you browsed to My Pictures last time to find a print file, the next time you attempt to add print file the My Pictures folder will automatically be displayed. This is the default setting.
Robot Options/Bin Selection
Here you can choose the Disc Publisher from the dropdown list that you would like to specify custom bin locations. Once you have chosen the Disc Publisher you will need to Enable Bin Selection and choose which type of media will be loaded into the left and right bins. You will need to enable Kiosk Mode from the Options tab and attached your kiosk kit to your Disc Publisher. You may also access this feature by double clicking on the bin icons on the bottom status bar. Once Bin Selection is enabled the contents of the bin will be reflected next to the bin icons.

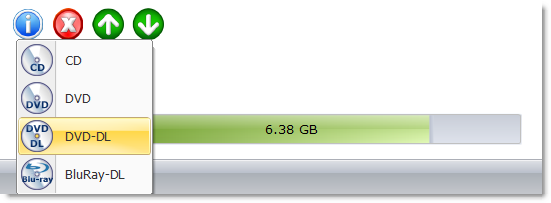
Note: PTPublisher has no way to verify if the actual discs loaded into the bin are CDs, DVDs, DVD-DL or BDR. It is up to the user to make this determinination.
Note on Disc Type: The Bin Selection feature and calculation of remaining disc space relies on correct input from the user during step 1 of the project setup process. For example on step 1 of the job in many cases you will need to specify which type of disc will be used. When setting up a DVD Data Project where DVD-DL disc will be used you will need to set DVD-DL by clicking on the DVD disc Icon next to the data bar. You will also need to select the proper disc type when using an ISO image.
Sounds
Here you can designate a sound to be played when a job completes, a job fails, the cover is open or there is a system error. You can browse for the file by clicking the browse button. Once you have selected the file you can preview it by clicking the Play button.
Options
Kiosk Mode. Uncheck this box to disable Kiosk Mode. Kiosk Mode will allow both bins to be used as input bins and finished discs will be ejected down the front chute. This doubles your disc capacity, but will require the kiosk kit.
Default Disc Type. Set this to the type of disc that should be used by default for projects.
Advanced
Show Tooltips. Uncheck this box to disable Tool Tips. Tool Tips appear after a few seconds when the mouse pointer is placed on buttons or screen areas. Tool Tips provide more information about the screen area or about the function of a button.
Show Error Dialog. Display an error window when the robot goes into an error condition.
Show confirmation after job completes. Show a completed job information window when a job completes.
|
